The Damper Setting on a Rower Is Not the Resistance Level
Quick Answer: The damper does not set how hard the rower is. It sets how much air enters the flywheel housing, which changes the feel of the stroke — heavy and slow at 10, light and fast at 1. The actual difficulty comes from how hard you pull. Most people row best between damper 3 and 5, and rowing at 10 usually makes your splits worse, not better.
Someone told you higher is harder, so you slid it to 10 and pulled. Your splits got worse. Your lower back complained by the third piece. And it definitely felt harder, which made the whole thing more confusing.
It did feel harder. It just was not doing more work.
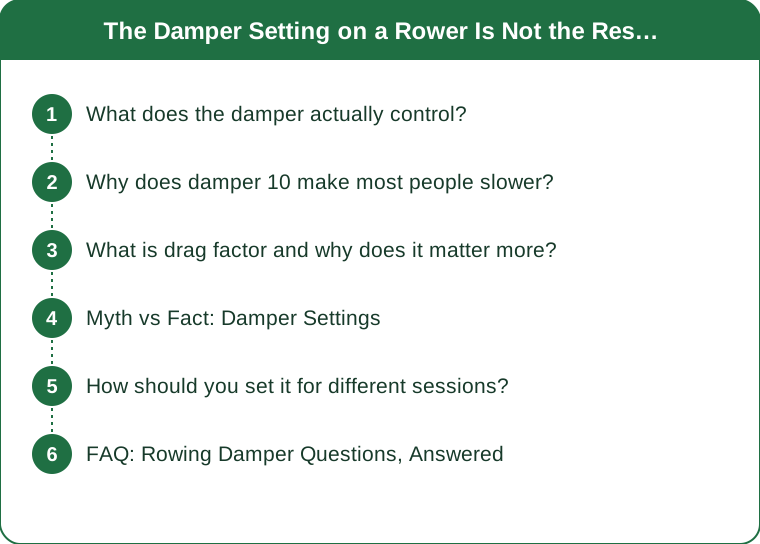
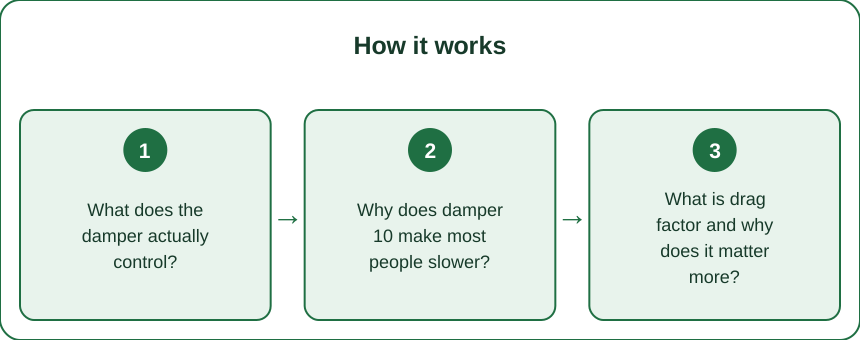
What does the damper actually control?
It controls airflow into the flywheel cage, and nothing else.
At damper 10 the vent is fully open, the flywheel catches a lot of air, and it decelerates quickly between strokes. That means each new stroke starts from a slower flywheel and you feel a heavy, loaded catch — like rowing a big, slow boat.
At damper 1 the vent is nearly closed, the flywheel holds its speed between strokes, and the catch feels light and quick — like a fine racing shell.
What does not change is the machine’s measurement of your output. The monitor calculates your split from the flywheel’s actual acceleration, so 500m at 2:10 is exactly the same amount of work at damper 3 as at damper 10. The number is honest regardless of setting. The setting only changes what the work feels like in your hands and hips.
The useful analogy: the damper is gear selection on a bike, not a hill. Choosing a heavier gear does not make the ride longer.
Why does damper 10 make most people slower?
Because a heavy catch rewards strength and punishes rate, and indoor rowing scores are mostly built on sustainable power.
At damper 10 each stroke takes longer to accelerate the flywheel from a slow start. Your stroke rate drops, your legs do a bigger single effort, and the recovery phase gets rushed because the flywheel is already slowing. Over a 2,000m piece that combination fatigues the posterior chain quickly and the last 500m falls apart.
There is also a technique cost. A heavy catch tempts you to initiate with the back rather than the legs, because the back can generate a large early force and the legs feel slow off the front. That is the single most common source of rowing back soreness, and it is amplified at high damper.
At damper 3-5 the flywheel keeps enough speed that the catch is light, you can hold a higher rate, and the legs stay the primary driver. Most people find their best 2k split somewhere in that band, often by 3-6 seconds per 500m compared to their damper-10 attempts.
What is drag factor and why does it matter more?
Drag factor is the machine’s measurement of how fast the flywheel actually decelerates — the real number behind the damper.
This matters because the same damper setting produces different drag factors on different machines. A dusty flywheel cage on a well-used gym rower gives less airflow, so damper 5 there might feel like damper 3 on a clean machine. This is the actual answer to why your numbers change when you switch rowers, and it is why serious rowers ignore the damper number entirely.
On a Concept2, you find it by going to the main menu, selecting Display, then Drag Factor, and rowing a few strokes. The number appears live.
Useful targets:
- Most women, general training: 100-120
- Most men, general training: 115-135
- Sprint work: slightly higher, 130-140
- Long steady pieces: slightly lower, 95-115
Set the drag factor you want by moving the damper until the number matches, then note where the damper landed on that particular machine. It will be different next time on a different rower, and that is the point.
Myth vs Fact: Damper Settings
Myth: Damper 10 is the strength-training setting. Fact: it is closer to a technique-degradation setting for most people. If you want a strength stimulus on a rower, do short hard intervals at moderate damper with high force per stroke. Ten-second all-out efforts at damper 5 build more usable power than long pieces at 10.
Myth: Lower damper is easier. Fact: a hard 2k at damper 3 is brutal. The effort comes entirely from you. Low damper does not reduce work, it just requires you to generate the effort through rate and continuous power instead of leaning on a heavy catch.
Myth: Everyone should row at 5. Fact: 5 is a decent default, but the correct setting depends on the machine’s drag factor, your height, and your session. A tall rower with long levers often prefers slightly lower. Check drag factor rather than trusting the printed number.
Myth: Changing the damper mid-session is cheating. Fact: it is normal and sensible. Many structured sessions call for a lower setting on long intervals and slightly higher on short power pieces.
How should you set it for different sessions?
Steady-state (20-60 minutes): drag factor 95-115, whatever damper that requires. You want a light enough catch to hold rate 18-22 without grinding. If your rate keeps sagging below 18, the setting is too heavy.
Threshold pieces (4 x 1000m, 3 x 2000m): drag factor 105-125. Rate 24-28. This is where most people’s default should live.
Sprints (10 x 30 seconds): drag factor up to 130-140. The heavier catch is useful when the piece is short enough that fatigue never becomes the limiter.
First few sessions ever: go lower than you think — drag factor around 100. Learn the sequence (legs, back, arms on the drive; arms, back, legs on the recovery) at a setting that does not punish a slightly late leg drive.
One more practical note: clean the flywheel housing every few months if the rower is yours. Dust in the cage lowers airflow and quietly shifts your drag factor over a season, which shows up as your splits mysteriously drifting.
FAQ: Rowing Damper Questions, Answered
Will lowering my damper make my splits look better instantly?
Usually a little, and then more as your technique adapts. The immediate gain is often 2-4 seconds per 500m on longer pieces because you can hold a better rate. The larger gain comes over a few weeks as your leg drive becomes the primary power source instead of your back.
Why does the same damper feel different at the gym versus home?
Drag factor. Airflow through the cage varies with dust, altitude, humidity, and how the machine sits in the room. Check the drag factor on each machine and set to the number rather than the label — a damper of 4 at home and 6 at the gym can be the same actual resistance.
My lower back is sore after rowing. Is the damper the cause?
It is a common contributor, especially above 6, because a heavy catch encourages opening the back too early. Drop to drag factor 105-115 and focus on pushing the legs down while keeping the torso angle fixed until the legs are nearly straight. If soreness persists after fixing the setting and the sequence, get it looked at — persistent back pain is not something to train through. This is general information, not medical advice.
TL;DR:
- The damper controls airflow and stroke feel, not workload. Your split is measured honestly at any setting.
- Damper 10 slows most people down by dropping rate and shifting work to the back.
- Drag factor is the real number — 100-120 for most women, 115-135 for most men, checked on each machine.
- Set lower for steady state, moderate for threshold, higher only for short sprints.
- Back soreness from rowing is frequently a too-heavy setting plus an early back opening.
The practical takeaway is to stop thinking of it as a difficulty slider. Find your drag factor, note where the damper sits on the machines you use, and then let the only variable that matters be how hard you pull. That is the one the monitor was measuring the whole time.
Keep Reading
This article is for general informational and styling purposes only. Fit, sizing, and product availability may vary.